
Wedding photos aren't just photos; they're more like a memory that we keep forever. Memories that let you remember and re-enjoy the moment while going through the photo albums. With over 12 years of expertise in the editing industry, The KOW Company Ltd makes sure that your memories are remarkable.
Well, in this article, we will discuss the wedding photo retouching and editing tips so that the memories always feel fresh. Essential tools and software for editing, along with step-by-step instructions, will also be discussed. We will also go through the common mistakes that, as an editor, you should be avoiding and the final export tips that you should follow before delivering the photos.
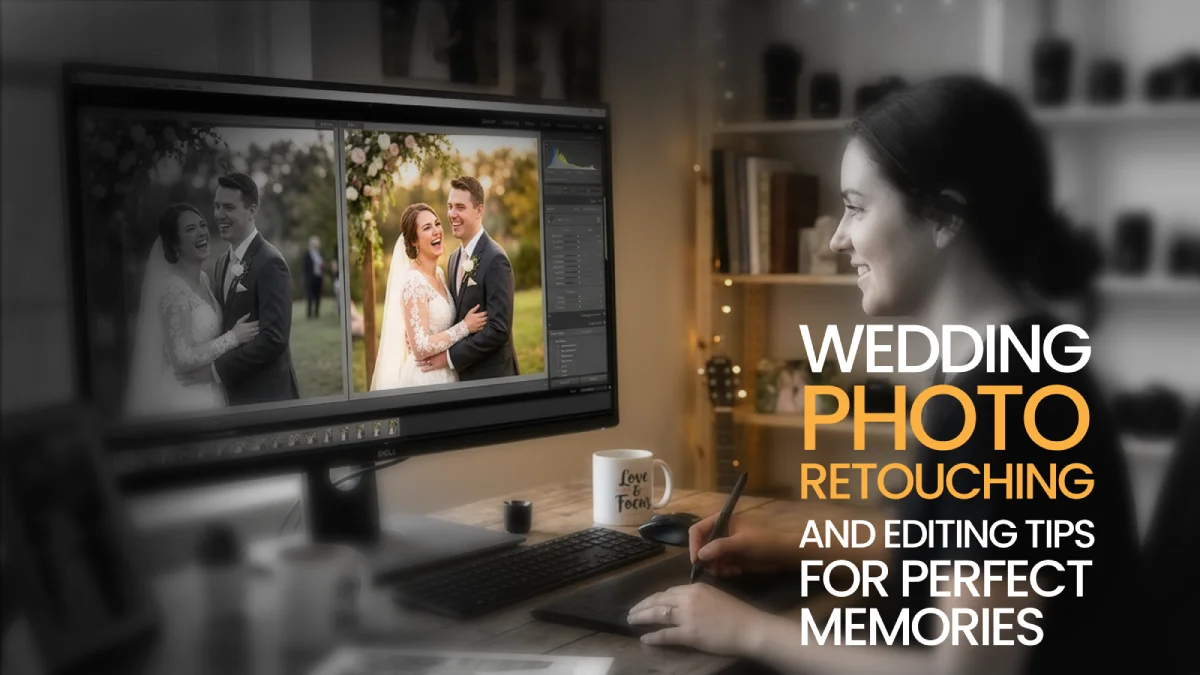
What is Wedding Photo Editing and Retouching?
Wedding photo editing and retouching make your images perfect and high-quality. Professional editors use various tools and techniques to enhance your wedding photos, helping them stand out among the best.
The main goal is to ensure improved output while maintaining the original, emotional, and natural-looking tone. The key components of wedding photo editing and retouching are:
- Color Correction
- Adjustment of the Exposure
- Adjustment of the Lighting
- Skin Retouching
- Background Cleanup/ Object Removal
- Cropping and Composition Adjustment
- Fixing the Color Grading
- Apparel and Detail Refinement
- Maintaining the Style Consistency
- Final Sharpening and Export
Essential Tools and Software for Editing & Retouching
There are many tools and software for editing and retouching images. All these software have some specific specialty and qualities.
Here's the list of some of the essential tools and software that have made a place in the industry:
Omnimage AI
If you want to skip the hassle and edit your images with just one click, then it's the best tool for you. Omnimage AI can help photographers deal with more volume. This software helps your work by automating tasks like color changes, brightness, and clarity changes.
For wedding photographers, this makes gallery preparation much easier. Hundreds of images from a single event can be edited with consistent tones and styles, keeping the entire gallery visually uniform.
The goal of Omnimage is to automate repetitive editing tasks. It allows photographers to focus more on selecting the best shots and delivering high-quality images to clients faster. It can be used on:
- Wedding Photography
- Portrait Photography
- Fashion Shoots and
- Event Photography
Adobe Photoshop
Adobe Photoshop was created in 1987, and since then, it has become one of the leading editing tools for every type of editor. It is an incredible tool to use for very intense photo retouching.
Skin edits, blemish removal, background edits, object removal, and so on can be done to the very fine detail. The editing is layer-based, so you can not touch the original photo. This is excellent for enhancing detail on wedding dresses and very high-quality portraits in wedding albums.
Adobe Lightroom
Adobe Lightroom is commonly used for organizing and editing photos. Wedding photographers can take several hundred photos, and Adobe Lightroom makes it easy to organize photos using a catalog. It can change the color of photos, adjust brightness, and change all of the photos simultaneously.
Adobe Lightroom comes with custom settings that let individual photographers select a uniform custom look for their entire album. These custom looks can be used across multiple photos across an entire album, which helps to maintain the same look across the entire album.
Capture One
Capture One is usually preferred by professional photographers because of the color grading and adjustment capabilities, as well as the color control and editing for improved skin tones and natural color balance. This is especially useful for wedding photography, even when the venue has dim lighting.
Capture One is the best for color grading skin tones as well as for tethered shooting, which is when the camera is connected to a laptop, so the photographer can see the photos as they're being captured.
Luminar Neo
Luminar Neo is an editing program that has artificial intelligence (AI) to assist users with tasks. It improves the skin tones, changes backgrounds, improves lighting, and fixes other issues automatically.
Users can spend less effort and time on editing and get more out of their computer. Wedding photographers can use Luminar Neo to change every photo and improve the lighting to fit a romantic mood.
PortraitPro
PortraitPro specializes in editing portraits. It can automatically smooth skin, remove wrinkles, and make adjustments to your makeup.
It can be a great use for wedding photographers to use that tool to edit portraits of the bride and groom, and still look natural. PortraitPro is designed to edit faces so that their features can be enhanced without spending a lot of time editing.
Evoto AI
Evoto AI automates the tasks by skin retouching, blemish removal, color correction, hair editing, and body adjustments. It's a suitable choice for people who need a large volume of images to be edited quickly.
One of the main strengths of Evoto AI is that it has an advanced portrait retouching system. It can automatically smooth skin, remove blemishes, and adjust the facial features in one click.
Step-by-Step Guide to Wedding Photo Editing & Retouching
For editing your wedding photos, you need to follow a structured flow for better outcomes. Editing photos randomly can make your image dull and unattractive. Following a step-wise process can help to end up with better outputs.
Here are some necessary steps that you should follow:
Step 1: Culling - Choose the Best Pictures
The first step of the photo editing process is culling. This is the step where you need to choose the best one among all the photos taken. Keep in mind that multiple shots are taken of each moment in order to get all of the best photos, and it's not necessary to edit every picture.
Try to eliminate photos that are blurry, shots with people blinking, duplicates, and poorly composed. This process can be made a little easier with rating tools, flagging, and photo sorting tools that use AI.
Photographers try to keep about 20-30% of the best shots, so culling all of the photos is also very important. It saves a lot of editing and focuses the end gallery on photos that are important.
Step 2: Global Adjustments in Lightroom
After selecting the best photos, the next step is to perform global adjustments to improve quality. Global adjustments focus on the same overall things, but for each photo. Photographers make adjustments to exposure to gain control over the details found in the shadows and highlights.
To ensure skin tones look natural, the white balance needs to be adjusted. An amount of clarity or texture has to be added to keep details like fabric, flower details, to ensure they are visible, but not to the point where it becomes cluttered.
Vignetting and distortion can be solved by using lens correction profiles to fix distortion or vignetting caused by the camera's lens. Noise reduction for low-light photos is also a consideration, and is crucial for photos taken at the reception. Many editors apply a base preset and then do sync adjustments to as many photos as possible, especially if they are taken in a similar lighting situation.
Step 3: Improvements to Color and Tone
Once editors are finished with the basic corrections, the next step is to adjust the image's color and tone. As consistency is key, different photo editors prefer different styles.
Some people prefer a warm and romantic tone, while others might prefer a cooler, more cinematic tone. You can also use HSL filters to make color adjustments to the entire wedding gallery to ensure that skin tones appear natural and that the background is not distracting.
Tone curves also help to adjust the contrast and shadows to add more depth. Small adjustments with clarity and dehaze help to improve the photo without it looking over-edited.
Step 4: Components and Cropping
Components and Cropping help to improve the composition and framing of the photo. In some modern editing programs, AI masks help editors make adjustments without too much effort.
Use editing programs to make selective adjustments to specific areas of the image. Remember, the adjustments should finish editing the image without looking overly edited.
Step 5: Detailed Photoshop Editing
After going through the basic edits, some specific photos are saved for more detailed editing. It includes couples’ portraits or close-up moments. These pictures are usually edited with Photoshop, where more advanced options are used for detailed editing. Editing may involve skin smoothing through methods like:
- Frequency separation
- Hair or skin blemish removal through healing tools and
- The removal of background distractions, like an extra person or objects in the background.
Editors also try to smooth clothing by removing wrinkles in dresses or suits and do gentle teeth and eye brightening.
Step 6: Selective Adjustments with Dodging and Burning
Dodging and burning is the classic photography technique. It is usually used to lighten or darken the specific parts of an image. Professional editors technically add or take away light to flesh out more of the essence of the picture by carving out the important details and removing distractions.
This is important in order to create definition in portrait photography to help distinguish features and for extra emphasis in important details like wedding rings, floral arrangements, or details in the venue.
Step 7: Batch Processing and Final Polishing
Once the key photos of an event have been retouched, other photographs, the themes of which are similar, can be adjusted using batch processing, presets, and/or actions.
These end-of-work changes include sharpening, noise adjustments, and color changes. Some editors use some AI photo retouching tools to speed up retouching of portraits and to clean up backgrounds.
Step 8: Export and deliver the photos
After all the necessary adjustments, the very last stage is exporting the edited photos for delivery. Professional photographers typically include a version of the photos that has been optimized for online sharing and digital galleries.
First, watermarked previews can be sent for the selection of the clients, followed by the final edited images. An additional important thing is to back up the RAW files and the edited images. Try to keep the delivery turnaround time between 1 and 4 weeks to create a brand value.
Why Trust The KOW Company for Your Wedding Photos?
The KOW Company has over 12+ years of experience in professional photo editing. We are a trusted partner for wedding photographers and couples around the world. Our team combines technical skills with artistic vision to deliver results that go beyond expectations.
Our Credentials & Expertise:
- 12+ years of professional photo editing and retouching
- Certified professionals in Photoshop and Lightroom
- Specialized training in wedding photography workflows
- 5000+ wedding galleries successfully enhanced
- Consistent delivery of natural-looking, professional results
- Expertise in color grading, skin retouching services, and background cleanup
- On-time delivery without delay
We carefully edit every image to make sure your wedding memories are genuine, beautiful, and lasting.
We have our own special process for editing wedding photos that's different from the usual editing services out there.
Our 3-Phase Editing System:
Phase 1: Intelligent Culling and Selection
We combine AI tools with human expertise to find the 20-30% of shots that matter most. This way, your final gallery will show only the best moments.
Phase 2: Signature Style Consistency
We use a consistent editing style for your entire wedding gallery to create a unified look that tells your love story. Each photo has the same color grading, tone, and mood.
Phase 3: Detailed Refinement
Every key photo gets special treatment, with skin touch-ups, background fixes, and adjustments where needed, all while keeping a natural, unedited look.
Result: You will receive a wedding gallery that looks professionally arranged and feels genuine. It will be ready for you in 1 to 2 weeks.
How We Compare to Standard Editing Services
| Aspect | Standard Editing | The KOW Company |
| Turnaround Time | 3-5 weeks | 1-2 weeks |
| Editing Consistency | Varies by editor | Signature style applied |
| Skin Retouching Quality | Basic smoothing | High-end, natural-looking |
| Background Cleanup | Limited | Advanced object removal |
| Color Grading | Standard presets | Custom, mood-specific |
| Revision Rounds | 1-2 rounds | Unlimited revisions |
| Bulk Discounts | Limited | Available for large galleries |
Tips for Achieving Natural-Looking Retouching and Flawless Results
Try to enhance the beauty of the moment without making the actual image look artificial. For achieving natural-looking retouching and flawless images, follow these tips below:
- Maintain skin texture by avoiding over-smoothing
- Keep pores and lines on the skin, as well as moles and freckles
- Avoid using heavy blur filters
- Avoid over-sharpening
- Try to work in Zoom's out-of-the-box mode
- Use the spot healing brush for quick blemish removal
- Keep the eye retouching minimal by adding a little sparkle
- Use the clone stamp tool to remove the distracting flyaways of hair
- Work on a duplicated layer or a new empty layer
- Keep the editing style consistent
Common Mistakes to Avoid
Wedding photos need a careful balance of realism, as these are not only just photos, but memories. Editing helps to improve image quality, yet some mistakes can make photos look unnatural. That's why avoiding the common mistakes is necessary:
- Over-smoothing skin: Removing skin texture by smoothing too much, and making faces look fake, is counterproductive. Use gentle skin smoothing when it is warranted and do it in real life.
- Inconsistent Editing Style: A shop or gallery can look really mismatched and odd if there are different color tones and differences in exposure on the images. Use a preset and sync edits in Adobe Lightroom to keep them similar.
- Excessive Adjustments: When too much clarity, contrast, or saturation is used on a photo, it makes the photo look almost harsh. When editing photos, subtle is way more natural.
- Technical Retouching Errors: Poor cloning or healing can create visible patches or repeated patterns. Always zoom in and check details carefully.
- Incorrect White Balance: The early steps in the editing process can set the remaining steps up for success or make them more difficult. Incorrect color balance can make the skin look odd.
- Ignoring Background Distractions: The more subtle a background is, and the more it can be edited to be blank, the more the eye will focus on what is presented. Editing the background to remove distractions is essential to keep the focus on the couple.
- Over-Editing Candid Moments: When a significant amount of editing is done to a photo, it removes the emotions and feelings from the photo. All the shots are there to remember the moment, so they should be lightly edited only.
- Skipping Proper Culling: If a great photo has a bunch of similar photos around it, it lessens the quality of the collection. A culling process makes sure to prioritize these great images for the best overall effect.
- Not Reviewing Before Export: When in the editing process, checking your work before the editing is finished is critical, because the state of the image can be transformed, and editing the image can cause multiple effects on it. Checking for correctly placed edits and natural tones from the editing is essential before exporting.
Final Export Tips and Delivering the Photos
When the editing and retouching part is complete, the final and last step is exporting and delivering photos, maintaining the quality.
Here are some necessary tips to keep in mind before you deliver the photos:
- Before delivering images to your clients, remember to export images in JPEG format. Make sure to keep RAW files in case you need to edit the images in the future.
- RAW images should be exported in high resolution, in other words, 300 DPI. Do the same for images you plan on sharing on the web and be sure to export a smaller version.
- Keep the sRGB color profile for standard and correct display images for all compatible screens.
- Add a small amount of light sharpening to the exported image. This will greatly improve clarity for prints of photos.
- Before archiving and delivering files to clients, create folders labeled ceremony, portrait, reception, etc. This will improve clarity and navigation for clients.
- When sending and sharing images that are previewed, keep a watermark on the photo image to maintain and protect your work.
- To improve easy sharing and downloading for clients, you can share photos in online galleries, cloud storage, or cloud platforms.
- For all edited and RAW images, keep copies on an external drive or cloud storage to avoid loss of data.
Conclusion
Editing and retouching wedding photos are fantastic ways to capture those beautiful moments and make them last forever! First, adjust the exposure and correct the colors. Then, do detailed retouching and finalize the export. These steps all help improve the quality of the images.
Photographers and editors can make wedding galleries look consistent, elegant, and professional by following specific workflows. Using the right tools and avoiding common editing mistakes is important. Each photo captures the true feeling of the wedding day due to close attention to detail, subtle retouching, and proper color grading.
Professional editing services can save photographers a lot of time and give them polished results if they have the necessary skills and experience. At The KOW Company Ltd, we focus on naturally enhancing wedding photos so that every couple can relive their special day through stunning, high-quality images for years to come.
Frequently Asked Questions
What’s the difference between wedding photo editing and retouching?
Wedding photo editing is the process of making adjustments to the entire gallery. It includes the color correction, exposure and cropping, etc. On the other hand, retouching is the process of detailed work, which includes working on the blemishes, smoothing skin, and removing objects from the background.
How long does it typically take to edit and retouch a wedding photo?
The time of editing the wedding photos relies on the number of images that need to be edited. The typical time frame is between 2-5 weeks.
Is it necessary to retouch every wedding photo?
The answer is NO. It's not necessary to edit and retouch every photo. Rotating hundreds of photos is usually time-consuming, and it's not practical for most photographers.
What types of wedding photo retouching and editing services do you offer?
From basic edits to adding a professional touch, at The KOW Company Ltd, you get every type of editing and retouching services delivered within just 1-2 weeks. Our top wedding services include color correction and enhancement, high-end skin retouching services, Body Reshaping and manipulation, HDR and exposure blending, expressive correction, and Head Swaps, etc.
Do you offer bulk discounts for editing large wedding photo collections?
Yes, we offer a bulk discount for editing a large wedding photo collection. Send us your query, and our team will send you the estimated cost and discount price.
How much does professional wedding photo retouching cost?
The professional wedding photo retouching usually costs between 0.50 to 5 dollars per image for basic adjustments. For full galleries, the wedding photo retouching and editing services are usually between $300-$1000.
Can you retouch skin and remove blemishes without making photos look unnatural?
Yes, we have professionals who work only on retouching skin and removing blemishes. They make sure to edit photos with necessary adjustments while maintaining the professional tone.
Can you remove unwanted objects or backgrounds from my wedding photos?
Yes. All the unwanted objects or backgrounds from your wedding photos can be removed with our expertise, which works only on that section. By using the necessary tools and components, our professional editors make sure there are no unnecessary objects on the backgrounds while making the necessary adjustments.
What's the best file format for wedding photos?
JPEG is best for everyday sharing and printing, while RAW or TIFF are ideal for editing. Many couples request both, JPEGs for convenience and RAW/TIFF for long‑term preservation.